Remove Wrinkles from image
This Photoshop tutorial will teach you how to make someone looks younger. This works by removing wrinkles using the patch tool and the healing brush tool. The patch tool will be used to remove large wrinkle areas and the healing brush tool to remove smaller wrinkle areas. This effect can be used to reverse the aging process in an image. For this tutorial I used a free stock image of an old man which is available at:www.sxc.hu
Remove Wrinkles from image
Step 1
Open an image in Photoshop.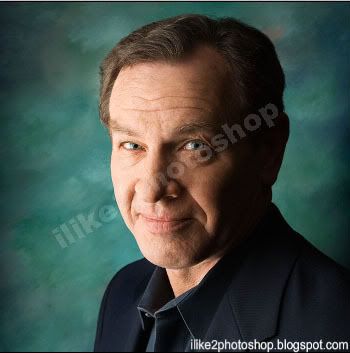
Duplicate the background layer by selecting Ctrl + J.
Step 2
Select the patch tool and make a selection around the wrinkled area. Your image should look like below: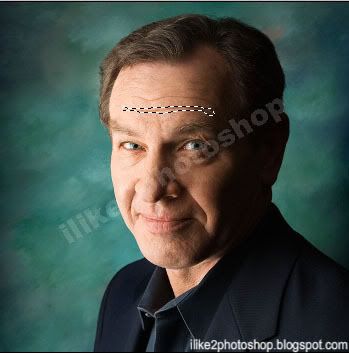
Now drag your selected wrinkle area slightly above or below to an area where there is no wrinkles.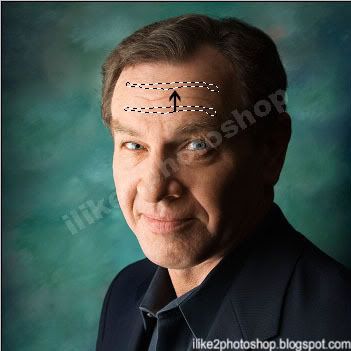
And repeat this procedure for the rest of the forehead and under the eyes.
Step 3 (Optional)
Now to remove smaller wrinkle areas select the healing brush tool. This tool is similar to the clone stamp tool. If you haven’t used the clone stamp tool before have a look at this tutorial. The main different between the two tools is that the clone stamp tool takes a direct copy of the sampled area whereas the healing brush tool matches the texture, lighting and shading of the sampled area.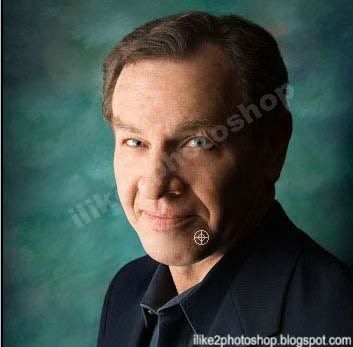
Select the healing brush tool and choose an appropriate brush size.
And hold the Alt key to take a sample of unwrinkled skin and then release the alt key and drag your mouse over the wrinkled areas. Note you may need to retake the sample as the brush follows your mouse movements.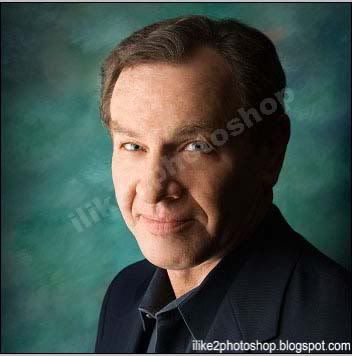
You should now have an image with no wrinkles.
Related Tutorials
Change eye colour
Change hair colour
Whiter teeth
Ruby lips


0 comments:
Post a Comment