Sun tan in Photoshop
This Photoshop tutorial will teach you how to create a sun tan effect in Photoshop. This effect uses the quick mask tool and the adjustment curves. I have used a free stock image from www.sxc.hu. You can also create a similar effect with the darker skin tutorial.
Sun tan in Photoshop
Step 1
Open an image in Photoshop.
Step 2
Select the paint brush tool with an appropriate brush size. Then hit Q to enter the quick mask mode. Now carefully paint the areas of the image where you want the sun tan to be, like below: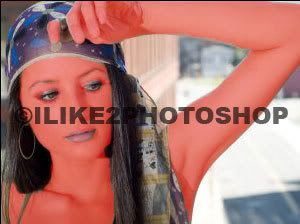
The areas painted should appear in a red colour. If you make a mistake you can use the eraser tool.
Step 3
Now exit quick mask mode by hitting the Q key again. Then choose Select > Inverse and your image should look like below: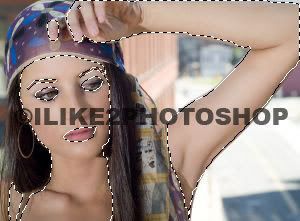
Step 4
Select Ctrl + J to copy the selection to a new layer. Now Select Image > Adjustment > Curves. Drag the curve from the centre to the right slightly like below. If you want a darker tan you can move the curve further to the right.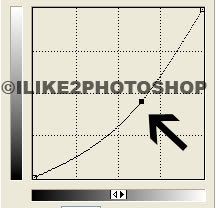
You should now have a sun tan.
Related tutorials
Darker skin colour
Change hair shade/tone
Change colour of hair
Whiter teeth


1 comments:
Very nice! I will be putting you on my Google Reader to keep track of you.
Post a Comment