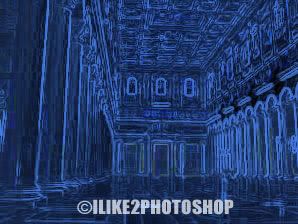
Blueprint effect in Photoshop CS4
In this tutorial you will learn how to create a blueprint effect in Photoshop. Back in the old days blueprints were used by engineers and architects as a way of showing a detailed plan or drawing of a building or design. Blueprints are now less common because of the advances of technology and software programs.
Blueprint effect in Photoshop CS4
Step 1
Open an image in Photoshop. I have used a free stock image of a building which can be downloaded from sxc.hu. For this blueprint effect its best to use an image of a design such as buildings or vehicles.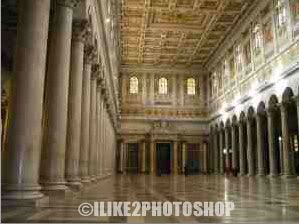
Duplicate the background layer by selecting Ctrl + J on the keyboard.
Step 2
On the menu bar select Filter > Stylize > Find edges. This will remove most of the colour from the image and leave the edges defined.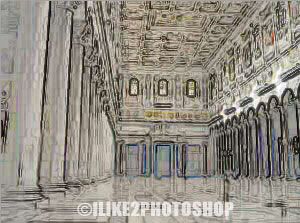
Step 3
To further remove colour from the image, go to the menu bar and select Layer > New Adjustment Layer. If you see a message about create a new layer, click ok.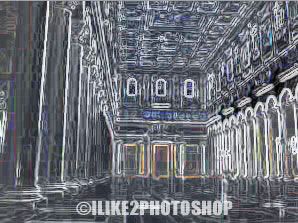
Step 4
We now need to add the blue colour to the image. Go to Layer > New Fill Layer > Solid Colour and click ok. Choose a blue colour of your choice, I have gone for # 4880e8 colour, but you can use whatever colour you like.
Step 5
You probably cannot be your original image, so you need to change the blending mode. I have changed my blend mode to Multiply, but you can experiment with the various different modes.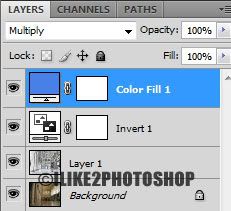
You should now have a blueprint effect in Photoshop CS4.