Jelly text effect
This Photoshop tutorial will teach you how to create a jelly text effect. This effect uses layer styles and blending options. You can abjust the various settings to your liking.
Jelly text effect
Step 1
Create a new Photoshop document with the default Photoshop size. Select the text tool and type your message on the stage. I used impact font with black colour, but you can use whatever colour you want.
Step 2
Select Layer > Layer style > Blending Options. Add the following settings for drop shadow below: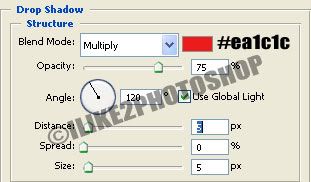
I used #ea1c1c colour. And then add the followings setting for inner glow: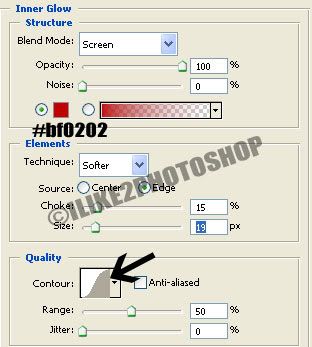
And then add the following settings for bevel and emboss: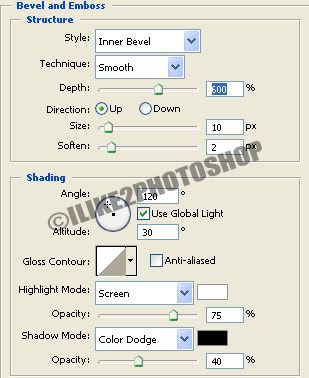
And then add the following settings for satin: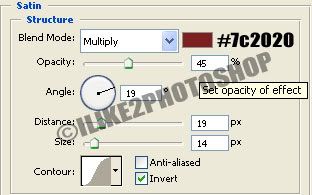
And finally add the following settings for colour overlay: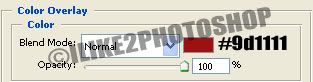
**I have used the #9d1111 colour and the opacity at 100%, but you can experiment with the various settings.
Step 3 – optional
You may notice your text lettering looking quite sharp around the edges.
Select the blur tool with an appropriate brush size and soften up the edges of your letters by painting over the edges.
You should now have a nice jelly text effect.
Related tutorials
Ice text effect
Flame text effect
Gold text effect
Glass text effect


1 comments:
nice blog. i learn a lot!
Post a Comment