Shiny skin effect
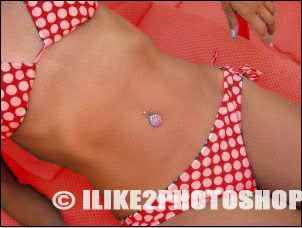
This Photoshop tutorial will teach you how to create a shiny skin effect. This gives the effect of skin being shiny. This tutorial uses the plastic wrap filter and uses quick masks to the make selections. I have used a free stock image of a woman which is available at: www.sxc.hu
Shiny skin effect
Step 1
Open an image with skin exposed in Photoshop.
Step 2
Reset the foreground and background colours by pressing the “D” key.
Now the select the brush tool with an appropriate brush size and hit “Q” to enter quick mask mode. If you don’t know how to use quick masks checkout the quick masks tutorial.
Paint over all the areas where you don’t want the shiny effect. Your image should look something like below:
If you make a mistake you can use the eraser tool.
Step 3
Hit “Q” again to exit quick mask mode and you should notice a selection around the skin area. Now select Filter > Artistic > Plastic wrap.
I used the following settings: Highlight strength = 4, Detail = 7 and Smoothness = 15. You can experiment with the various settings. Then click ok.
Step 4
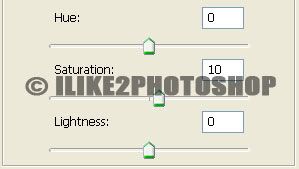
To bring out the shine select Image > Adjustment > Hue/saturation. Give the value of 10 for the saturation. Again you can experiment with the settings. Then click ok and select Ctrl + D to deselect the selection. 
You should now have a shiny skin effect.
Related tutorials
Sun tan in Photoshop
Increase muscle size
Add tattoo to image

1 comments:
OMG THANK YOU!!!
Post a Comment