Create smoke in Photoshop
This Photoshop tutorial will teach you how to create realistic smoke in Photoshop. This effect uses the wave filter and the fade edit.
Create smoke effect
Step 1
Create a new flash document with whatever size you wish and fill the background layer black.
Insert a new layer by selecting Layer > New > Layer and then click ok.
Step 2
Select the brush tool with a grey colour and an appropriate brush size and paint a random shape like below: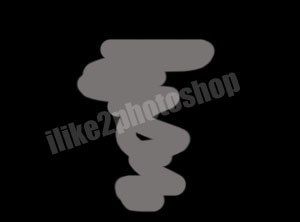
I used #797474 for the grey colour, but you can use any grey colour.
Step 3
Now select Filter > Distort > Wave. Click the randomize button and then ok.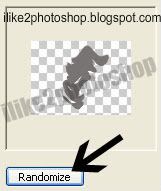
Select Edit > Fade Wave and then change the opacity to 50% and click ok.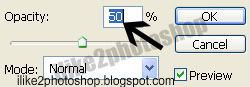
**Repeat step 3 until you get something that looks like smoke. You might have to repeat this step about 10 times.
Step 4
If you wish to move the smoke select Filter > Liquify and use the various tools to move your smoke effect.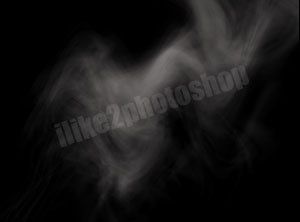
You should now have a nice smoke effect.


0 comments:
Post a Comment