Whiter teeth
This Photoshop tutorial will teach you how to make teeth brighter and whiter. This effect is pretty simple and uses the Quick mask tool and the hue/saturation adjustments. This tutorial is similar to the change car colour tutorial. I have used a free stock image of a woman which is available at:www.sxc.hu
Whiter teeth
Step 1
Open an image in Photoshop.
Step 2
Select the quick mask mode (Q) and use an appropriate brush size to paint over the areas where you don’t want to brighten the teeth. This would be most of the image as shown below.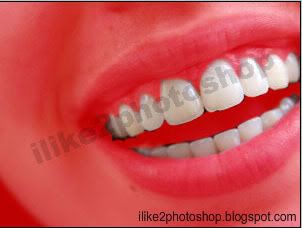
If you make a mistake you can use the eraser tool.
Step 3
Exit quick mask mode (Q) and the teeth section should be selected like below:
Now select Image > Adjustment > Hue/Saturation. I adjusted the saturation to -38 and the lightness to + 36. But you can experiment with the various levels.
Step 4
Select Ctrl + D to deselect the teeth. You should now have whiter teeth.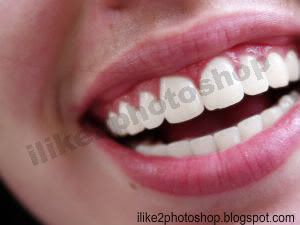


0 comments:
Post a Comment