Darker skin colour
This Photoshop tutorial will teach you how to darken skin colour. This effect is very simple and can also be used to create any skin colour. For this tutorial I have used a free stock image of a man which is available at:www.sxc.hu
Darker skin colour
Step 1
Open an image in Photoshop.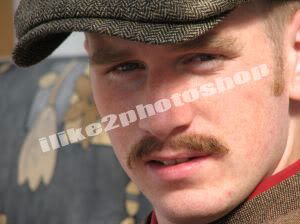
Step 2
Select Layer > New > Layer and click ok to create a new layer. Choose a dark foreground colour I used #cf8b54, but you can use whatever you wish. Now using the paint bucket tool fill in the new layer with your colour.
Step 3
Change the blending mode to color burn and the opacity to 50%. If you find that the colour is not to your liking, you can easily adjust the opacity or even a different foreground colour.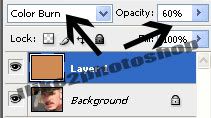
Step 4
Select the eraser tool with a white foreground colour and eraser the area of your image which you do not want to darker. This would be most of the image for example: eyes, lips, background, clothing etc. You should start to notice your image standing out. If you make a mistake select your chosen foreground colour and paint over you mistake.
You should now have a darker skin colour.


0 comments:
Post a Comment