Halftone border effect
In this tutorial you will learn how to create a simply halftone border effect in Photoshop. You need to use the quick mask and the halftone filter for this effect. I have used a free stock image which is available from: www.sxc.hu. I have also previously created a jagged border effect, so take a look at that tutorial.
Halftone border effect
Step 1
Open an image in Photoshop.
Reset the colour palette by selecting the ‘D’ key on the keyboard.
Step 2
Enter quick mask mode by selecting the ‘Q’ key then take the rectangular marquee tool and make a selection around your image like below: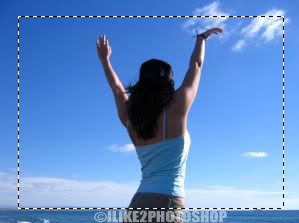
Step 3
Select the paint bucket tool and fill in the selected area like below. The selected area should now appear in red.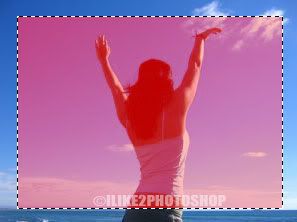
Then select choose Select > Inverse.
Step 4
Now select Filter > Pixelate > Colour Halftone and select a 10 pixel radius. Depending on the size of your image you may need to select a higher number of pixels.
Step 5
Exit from the Quick mask mode (Q) then hit the Delete key, and deselect the image by pressing Ctrl + D.
You should now have a halftone border effect.


0 comments:
Post a Comment