Jagged border effect
This Photoshop tutorial will show you how to create a jagged border effect. This gives the effect of the image border being uneven. I will be showing you two variations of the border effect using different filter effects. I have used a free stock image of a Roman Coliseum which is available at: www.turbophoto.com
Jagged border effect
Step 1
Open an image in Photoshop. This effect will work on any kind of image, so you can choose whatever image you wish.
Insert a new layer by selecting Ctrl + Shift + N and then fill the new layer white using the bucket tool.
Now drag the new layer below your image layer like below: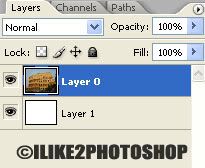
**If the background layer is locked and you are unable drag the new layer below the image layer. Then right click on the image and select “Layer from Background” and click ok.
Step 2
Select the Image layer then using the Rectangular Marquee tool and drag a rectangular outline on your image like below. Make sure there is a decent amount of space left around the edges of the image, to allow the border effect to be seen. 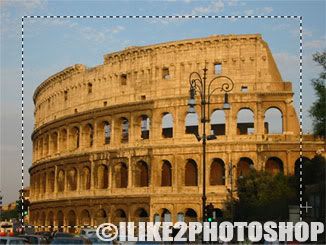
Step 3
Create a mask layer by selecting Layer > Layer Mask > Reveal Selection. You should now have solid white border around your image like below: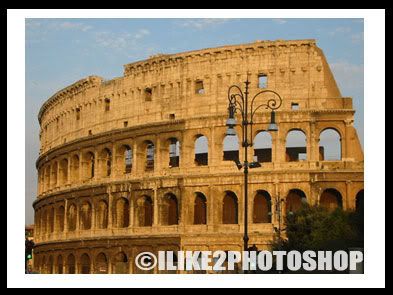
Step 4
Select Filter > Pixelate > Crystallize and select 20 for the cell size. You can increase or decrease the cell size as you wish. By increasing the cell size you will create a more jagged effect on your image. Your image should look like below: 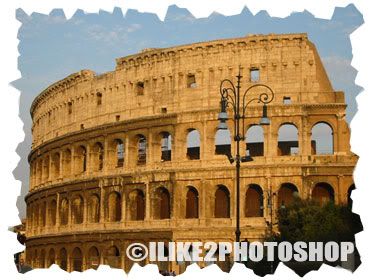
Or alternatively you can select Filter > Distort > Ocean ripple. To increase the jagged around the image you can select Ctrl + F which repeats the effect. Your image should look like below: 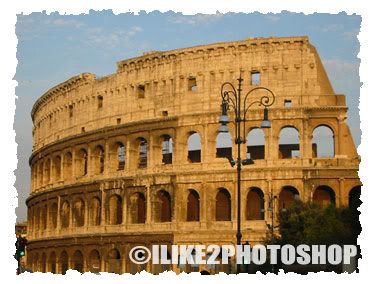
Related tutorials
Rounded image corners
Solid border

0 comments:
Post a Comment