Text wrapping in Photoshop
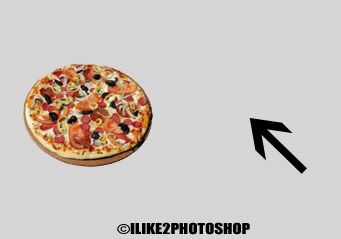
In this tutorial you will learn how to text wrap in Photoshop. Text wrapping is when text is wrapped around an image. This process of wrapping text requires using shape tools and paths. I have used a free stock image of a pizza to demonstrate the text wrapping.
Text wrapping in Photoshop
Step 1
Open an image you wish to text wrap in Photoshop. Notice I have left large areas to the right where I can wrap the text. Be sure your image has enough space for you to place your text.
Step 2
Select the rectangle shape tool with the ‘paths’ and the ‘add to path area’ options from the toolbar like below:
Step 3
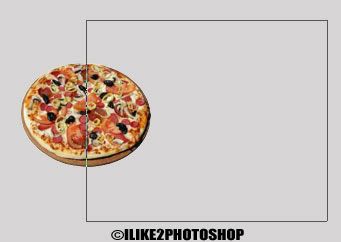
Drag out a path on your image like below. The path of the rectangle shape defines the area where you text will be placed. You can make the path as large or as little as you wish.
Step 4
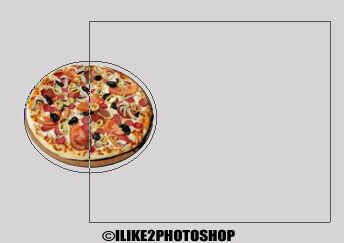
Now you need to subtract the other half of the pizza shape from the rectangular path. Select the following options below. This time I have selected ellipse tool with the ‘path’ and the ‘subtract from path area’ selected from the tool bar.
Then drag out the area you want to subtract. In my case I have dragged out an area which contains the pizza shape.
Step 5
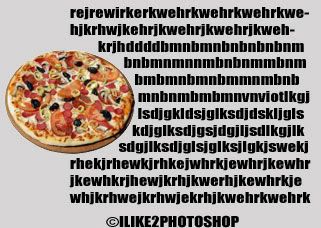
Select the text tool and click anywhere inside your path and type any message you wish. I have used impact font with black colour text, but you can use whatever font and colour you wish. To remove the paths simply select the layer below on the layers panels
You should be able to text wrap in Photoshop.

6 comments:
Great post, I love Photoshop, I use it a lot, mainly to create banners for my sites and blogs. Thank you shared this with us.
sweet i always wanted to know that :)
Wow, thanks for the info. I just learned something new today.
You learn something new everyday
That's brilliant that is. Never knew how to use paths in Photoshop until I read this, now I know I'll be using them all the time. And was only looking for an indesignish text wrap!
Muchas gracias! You saved me!
Post a Comment