Using Quick mask
This Photoshop tutorial will teach you how to use the Quick Masks mode. Firstly, Quick masks are similar to the marquee selection tools, but are more useful as you get more control over the selections. Basically a quick mask is just an advanced selection tool, like the magnetic lasso tool.
For this tutorial I have used a free stock image of a bird which is available at: www.sxc.hu
Understanding quick mask mode
Step 1
Open an image in Photoshop.
Enter the Quick Mask Mode by selecting the Q key on the keyboard. You should notice that your colour palette resets to the default. (Black/White).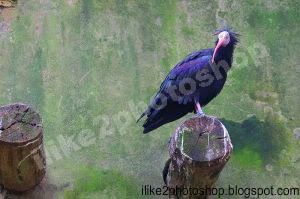
Step 2
Select the Brush Tool (B) with an appropriate brush size and paint over the area you don’t want a selection. Your painted image should appear in a red colour as shown below.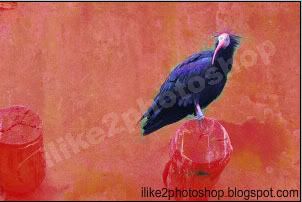
If you make a mistake by painting over the wrong area, you can use the eraser tool.
Step 3
Exit out of quick mask mode (Q) and your image should be selected. You can now cut/move your selected object as you wish.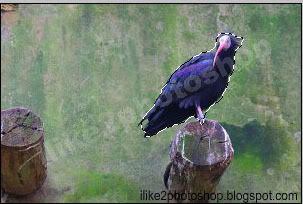


3 comments:
How do you exit quick mask mode?
@Dave TO exit quick mask mode select the Q key.
I like this way of extracting an object so much more than the others ^-^
thank uuuuu
Post a Comment