Wood text effect
In this tutorial you will learn how to create a wood text effect in Photoshop. The wood effect is created by adding a pattern overlay on top of the text. You will need a wood texture for this tutorial. A list of free Photoshop texture can be found here.
Wood text effect
Step 1
Open a wooden texture in Photoshop.
Select Edit > Define Pattern then choose a name and click ok. This adds the texture to the library of patterns.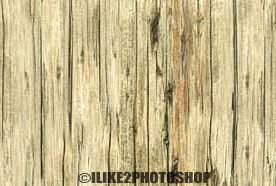
Step 2
Create a new Photoshop documents with the size 640 x 480. Select the text tool and type your message on the canvas like below. I have used impact font type, but you can use whatever font you wish. The wood text effect will work particularly well with chucky text.
Step 3
Select Layer > Layer Styles > Blending options. Check the pattern overlay checkbox then click the pattern drop down menu and select your wood texture.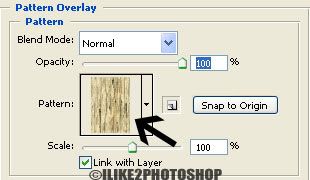
Step 4
Now check the ‘Bevel and Emboss’ checkbox. Change the style to Outer bevel and the depth to 200% like below: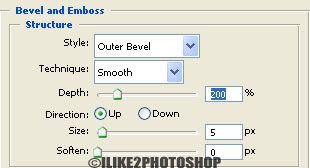
You should now have a wood text effect. 


3 comments:
Great.. it's simple and easy to follow.. I'll try it as well
Its a long time I done use any photoshop. With so many more easy to master application out there, I don't need to use it anymore. Anyway, Photoshop is still the best for your photo.
Very good simple and easy. Thanks
Post a Comment