Undercar lighting in Photoshop
This Photoshop tutorial will teach you how to create undercar lighting. This gives the effect of coloured light, which is underneath the car. I have used a free stock image of a car which is available at: www.sxc.hu.
Undercar lighting in Photoshop
Step 1
Open an image of a car in Photoshop. Using an image of a car in darker background (night time) is particularly effective, but an image in a lighter background is still acceptable.
Step 2
Select the polygon lasso tool and make a selection around the underneath of the car. You image should look something like below: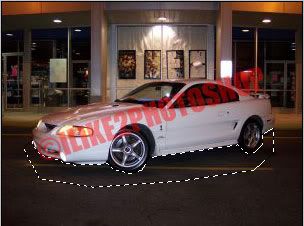
Step 3
Select Shift + Ctrl + N to create a new layer. And use the paint bucket tool to fill in your selected area. I used #4549f8 colour, but you can use whatever colour you wish.
And now choose Select > Feather give a 5 pixel feather radius and click ok.
Choose Select > Inverse and hit the delete key 4 times. This soften up the edges of the filled area. And deselect the image by selecting Ctrl + D. You image should look like below: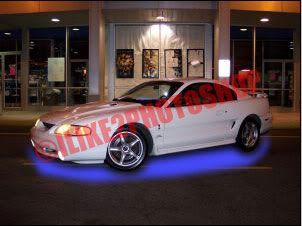
Step 4
I lower the opacity to 60%, but you can leave your image as it is, if you wish.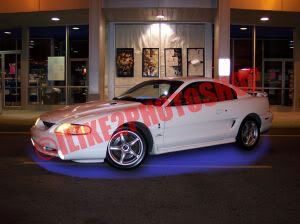
You should now have a car with under lighting.
Related tutorials
Add lights to any car
Tint car window
Change colour of any car


0 comments:
Post a Comment