Object reflection in Photoshop
This Photoshop tutorial will teach you how to create a simple object reflection. The effect is very easy and creates a nice effect. Only the layer mask and gradient tool is need for this tutorial.
For tutorial I have used a free stock image of glass of wine which is available at: www.sxc.hu
Object reflection in Photoshop
Step 1
Create a new Photoshop documents with the size 640 x 480px.
Open up the image you wish to use as your reflection and copy and paste the image into the new Photoshop documents. To do this you choose Select > All then Edit > Copy. You then paste your image into the new document by selecting Edit > Paste.
You may wish to remove the background from your image.
Step 2
Duplicate the layer by selecting Ctrl + J. And drag the duplicated image so that it’s directly underneath the original image. Make sure the images are touching. You image should look like below:
Now flip the duplicated image by selecting Edit > Transform > Flip Vertical. You image should now look like below: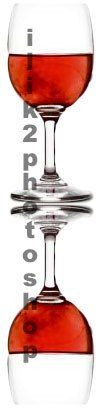
Step 3
Select Layer > Layer Mask > Reveal All.
Now select the gradient tool with the foreground to transparent gradient selected.
Hold down shift and drag the gradient from the bottom of the image to the top, like below:
You should now have an reflected object.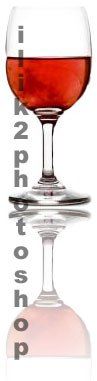


1 comments:
It is a very nice thing to be able x)
Post a Comment