Create a rainbow in Photoshop
In this tutorial you will learn how to create a rainbow in Photoshop using the gradient tool. I have created a rainbow on a white canvas, but you can place your rainbow on an image if you wish.
Create a rainbow
Step 1
Open a new Photoshop document with the size 640 x 480 dimensions.
Reset the palette by pressing the ‘D’ key and insert a new layer Ctrl + Shift + N.
Step 2
Select the gradient tool with a linear gradient and transparent rainbow preset.
Change the blend mode to soft light and the opacity to 83% and also check the reverse option.
Step 3
Hold down the Shift key so that the gradient remains at a straight angle, and drag a small gradient from the top to bottom like below:
Step 4
Select Filter > Distort > Polar Coordinates and make sure the ‘rectangular to polar’ is checked and click ok. You should get the following effect below:
Step 5
Select the Rectangular Marquee tool and cut off half of the rainbow which should leave you with the following:
Why not try adding the rainbow effect to an image? I have also given the rainbow a Gaussian blur and lower the opacity of the layer.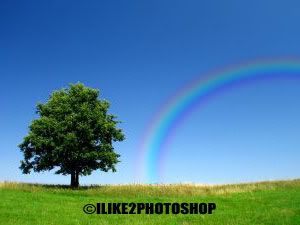


1 comments:
nice information about photoshop
Post a Comment