Photo sketch effect
In this tutorial you will learn how to create a photo sketch effect. This effect turns your photos into a hand drawn sketch. I have used a free stock image of dog which is available from: www.sxc.hu.
Photo sketch effect
Step 1
Open an image in Photoshop and duplicate the layer by pressing Ctrl + J.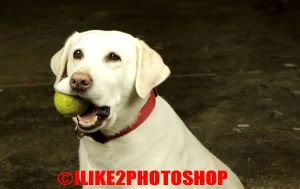
Step 2
Remove the colour from the image by selecting Image > Adjustment > Desaturate. You should get the following black and white image like below: 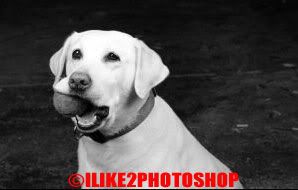
Step 3
Duplicate the layer again by selecting Ctrl + J. Then invert the image by selecting Image > Adjustment > Invert. 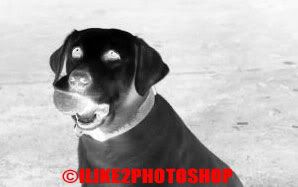
Step 4
From the layers panel change the blending option to Colour Dodge. You image may turn completely white. 
Step 5
Select Filter > Blur > Gaussian Blur and adjust the radius to your preference. I have selected a 5 pixel radius, but you can experiment with your image. Dragging the slider more to the right will create a more emphasized image.
Step 6
Merge all your layers together by selecting all your layers pressing Ctrl + E.
You should now have a photo sketch effect.


4 comments:
Easy to understand tutorial!Thanks for sharing!
Great instruction I learned something
that is the easiest photo shop I have seen congratulations
Great Tutorial!
Now i can transform my own pictures
Post a Comment