Rain effect
This Photoshop tutorial will teach you how to create a rain effect. This gives the effect of rain coming from the sky. I have used a free stock image of a woman which is available at:www.sxc.hu
Rain effect
Step 1
Open a new image in Photoshop.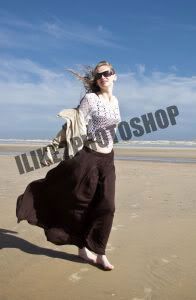
Step 2
And then create a new layer by selecting Layer > New > Layer and click ok. Now select a dark grey foreground colour and fill the new layer using paint bucket tool. I used # 5a5a5a colour, but you can use whatever you wish.
Step 3
Select Filter > Noise > Add Noise. Use the default setting and click ok. And now select Filter > Blur > Motion Blur. I used the following settings: angle = -51 and distance = 10 pixels, but you can experiment with whatever settings you wish.
**Changing the angle setting alters the direction of the rain.
Step 4
Change the blending option to overlay and the opacity to 48%. You can experiment with the different settings.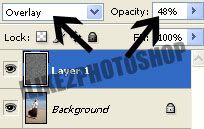
Step 5
Select Image > Adjustment > Level and adjust the levels settings until you see a rain drop effect.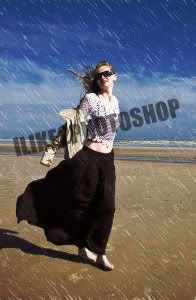
You should now have a rain effect.


0 comments:
Post a Comment