Adding fog to image
This Photoshop tutorial will teach you how to add a fog effect to an image. This effect requires using the cloud filter. I have used a free stock image which is available at: www.sxc.hu
Adding fog to an image
Step 1
Open an image in Photoshop.
And duplicate the background layer by selecting Ctrl + J.
Step 2
Make sure the foreground and background colours are set to default by selecting the D key. Now select the rectangular marquee tool and make a selection around your image like below: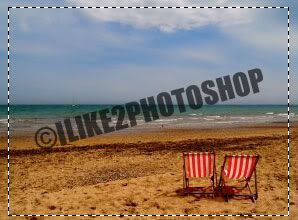
**Make sure your selection is as close to the edge as possible.
Step 3
Choose Select > Feather and select 20 pixels as the feather radius. Now select Filter > Render > Clouds. And now select Ctrl + D to deselect your selection. Your image should look like below: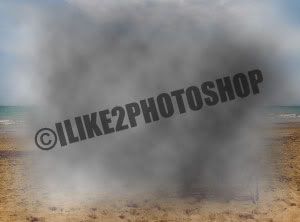
Step 4
Select Layer > Layer style > blending option. And locate the blend if section at the bottom of the window and alt + click at the little black stopper and drag it to the right side.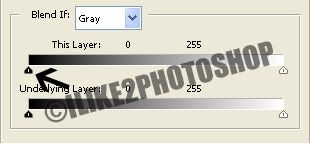
The black stopper should separate into two smaller stoppers.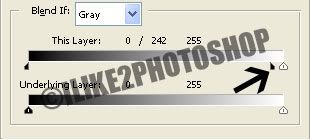
Step 5
Select Ctrl + T and stretch the fog effect horizontally. And now lower the opacity to 90%.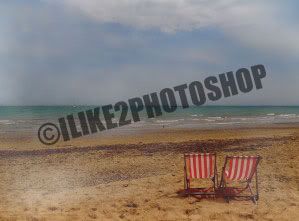
You should now be able to add fog to an image.


1 comments:
hey.. i rather like this one..
kinda weird but kinda cool man!
i wanna try this one sometimes..
thx 4 sharing the tips
keep up the good job!
Post a Comment