Add clouds to an image
This Photoshop tutorial will teach you how to add clouds to a background of any image. This is tutorial is useful if you want to add clouds to an image without clouds. There are many ways to create this effect but I have used the cloud filter.
For this tutorial I use a free stock image of a field which is available at:www.sxc.hu
Add clouds to an image
Step 1
Open an image in Photoshop.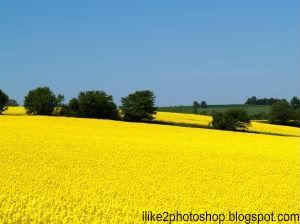
Step 2
Duplicate layer by selecting ctrl + J.
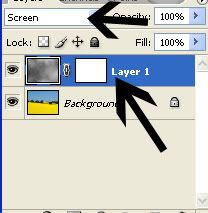
Now go to filter > render > clouds. There should be a black and white cloudy image.

Step 3
Change the blending mode to screen.
Add a Reveal all layer mask by selecting Layer > Layer mask > Reveal all.
Step 4
Using a black paint brush, paint the areas where you don’t want any clouds. This would be most of the image.
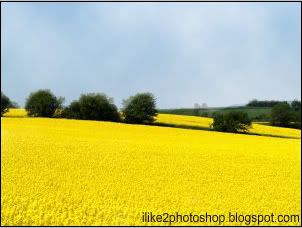
You should now have an image with some nice clouds.
Related Tutorials
Create clouds


0 comments:
Post a Comment