Night vision effect in Photoshop
In this tutorial you will learn how to create a night vision effect in Photoshop using the hue and saturation adjustments, blur filter and the burn tool. The night vision effect in this tutorial gives the result of looking through night vision goggles. I have used a free stock image which can be found at sxc.hu.
Night vision effect in Photoshop
Step 1
Open an image in Photoshop. It’s best to use an image which contains some scenery such as buildings or landmarks.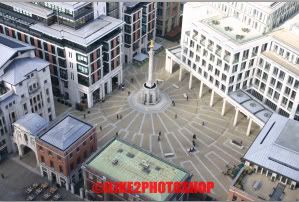
Step 2
Duplicate the background layer by pressing Ctrl + J on the keyboard. Then select Image > Adjustment > Hue/Saturation. Check the Colorize box at the bottom of the dialog window and then give your image a green colour. I have used the following settings, but you can use whatever setting you wish. I have set the hue to 124, the saturation to 43 and the lightness to -36.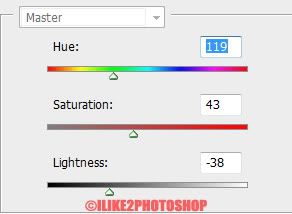
Step 3
Add some noise to your image by selecting Filter > Add Noise. I have only added a small amount of noise to my image. The amount I used is 10% and the distribution is uniform.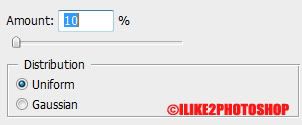
Step 4
Take the burn tool with the range at Midtones and the exposure at 64%. And paint around the edges of the image. Apply about 5 -6 layers of burn around the edges, so you get a slightly blacken colour.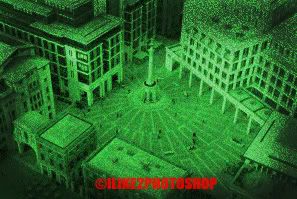
You should now have a night vision effect.


0 comments:
Post a Comment