Image on wall
This Photoshop tutorial will teach you how to add a sign or logo to a wall. In this tutorial I have used a logo of a lion and an image of a brick wall. The effect gives the illusion of the logo being overlaid on the wall. The images I have used are available free at: www.sxu.hu
Image on wall
Step 1
Open an image of a wall and an image your wish to superimpose.
Remove the background from the logo image, so that the logo has a transparent background.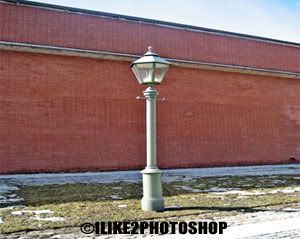

Step 2
Select your logo (Ctrl + A) then copy it (Ctrl + C) and paste it (Ctrl + V) on your wall image.
Your image should look something like below: 
Step 3
Select the free transform tool (Ctrl + T) and resize the logo to your desired size.
Now select the perspective tool by choosing Edit > Transform > Perspective and adjust the handles to the right pespective. Be sure to take some time when using the perspective tool to make it look correct. 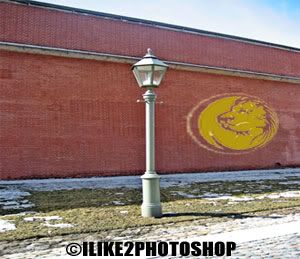
Step 4
Change the blending option to Overlay. 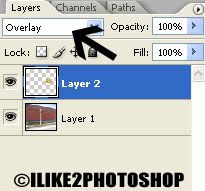
You should now have an image on a wall. 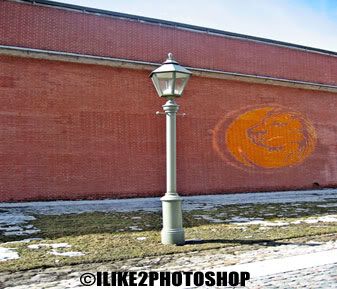


0 comments:
Post a Comment