Censored image effect
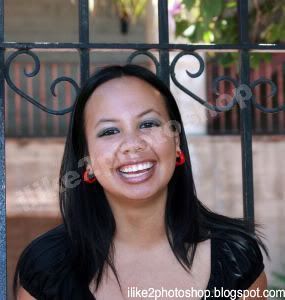
This Photoshop tutorial will teach you how to create a censored image effect. This effect use the mosaic filter to create the censored effect. For this tutorial I have used a free stock image of a lady which is available at: www.sxc.hu
Censored image effect
Step 1
Open an image in Photoshop.
Step 2
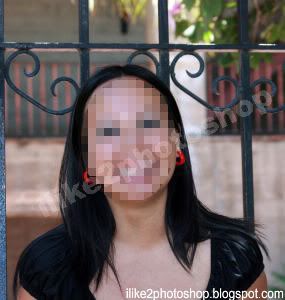
Using the Elliptical Marquee Tool or Rectangular marquee tool and select the area you wish to censor. I have made a selection around the face area.
Step 3
Select filter > pixelate > mosaic and set the cell size to 8 and click ok. You may need to change the cell size for image depending on the size.
You should now have a censored image.


0 comments:
Post a Comment